How to Install a VPN in 2 Minutes
Installing a VPN is easier than you think. A quick how-to anyone can follow.
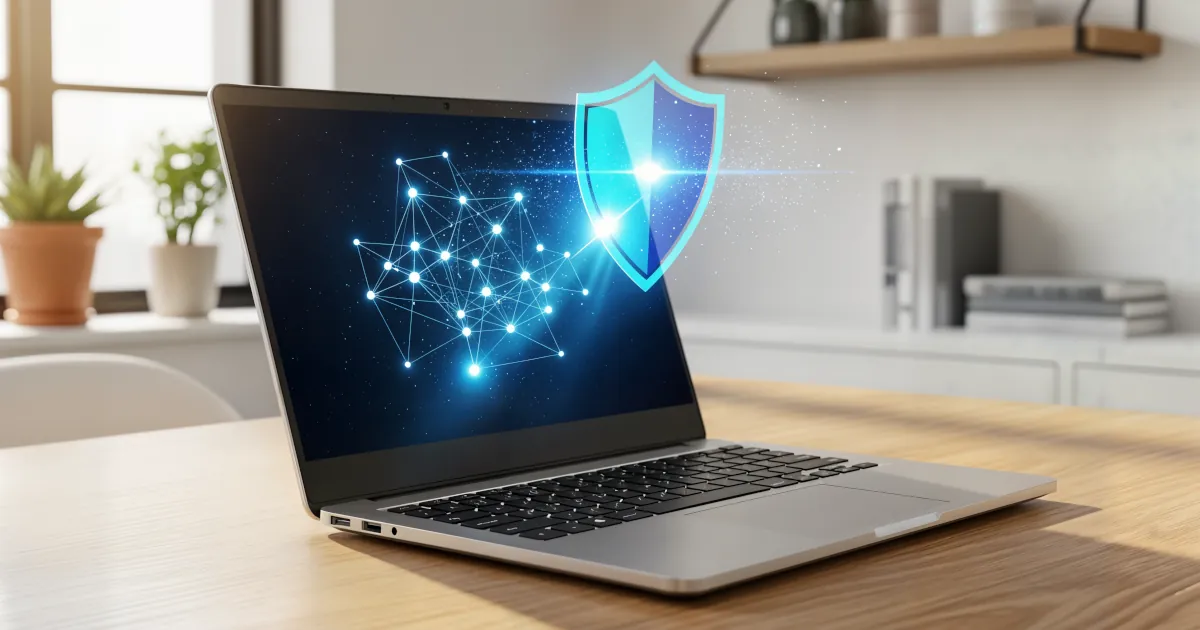
Let’s face it—when people hear “VPN,” they often picture some complicated tech setup involving code, servers, and maybe a guy in a hoodie smirking behind six monitors. But truthfully? Setting up a VPN these days is way simpler than that, and we’re going to show you how to do it in under two minutes—yes, you read that right.
Whether you're trying to stay secure on public Wi-Fi, access content from other countries, or just keep your browsing habits private (no judgment here), a VPN is your new best friend.
So grab a coffee (or your beverage of choice), and let’s dive into this quick, easy, no-stress guide.
VPN Setup in a Nutshell
Here’s the entire process in just three steps:
- Sign Up for a VPN Service
- Download the App
- Connect and Go!
Done! Seriously, that's it. But let’s break it down real quick for those who like a little more detail—or those who want to know which buttons to press.
Step 1: Pick a VPN and Sign Up
Estimated time: 30 seconds
The first step is choosing a VPN provider. There are a TON of options out there, but here are some crowd favorites known for being easy to use and beginner-friendly:
- NordVPN – Speedy, secure, and great on all devices.
- ExpressVPN – Super intuitive and works great globally.
- Surfshark – Budget-friendly with unlimited device support.
- ProtonVPN – Privacy-centered and even offers a free version.
Pick one that best suits your needs! If you're just getting started, go for whichever one seems the least intimidating (don't overthink it—we’ve all clicked the first suggestion on Google before).
Tip: Most VPNs offer a free trial or 30-day money-back guarantee, so try before you commit!
Once you’ve picked your champion, sign up with your email and create a password. Boom. First step = done.
Step 2: Download the VPN App
Estimated time: 30 seconds
Alright, now go to your app store (or the VPN’s website) and download the app.
If you’re on:
- Windows or Mac: Download directly from the VPN’s official website.
- iPhone (iOS): Head to the App Store.
- Android: Go to the Google Play Store.
- Linux: Most top-tier VPNs have Linux clients or instructions.
- Smartphones, tablets, even smart TVs: Yup—there’s an app for that too.
Once it's downloaded, log in using the email and password you set up earlier. That’s it. You’re almost there.
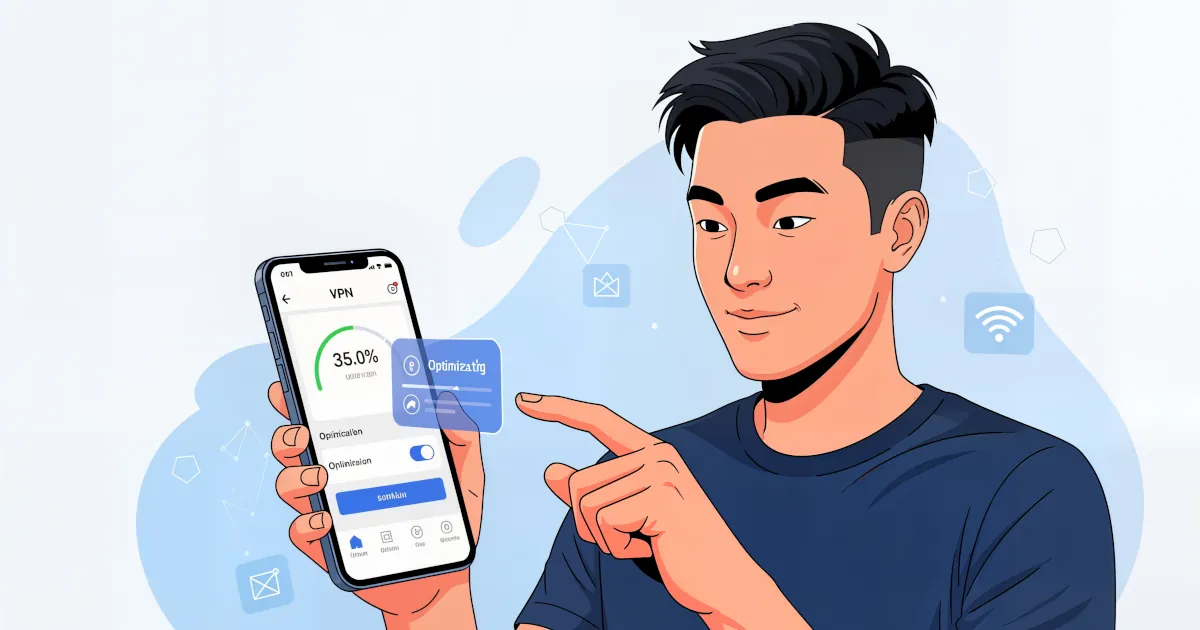
Step 3: Connect and Go!
Estimated time: 30 to 45 seconds
Open the app. You’ll be greeted with a simple interface, usually with a massive "Connect" button. Some VPNs will auto-select the nearest or fastest server for you. Just click that big button and chug-choo—you're connected!
If you want to appear like you’re in another country (maybe to access streaming content), just pick a different server location from the list and then connect. That’s all.
Example: Want to watch UK Netflix while you’re in the US? Pick a UK server, connect, and start watching!
And done. You now have a secure encrypted connection. That’s one more thing you can confidently check off your digital adulting checklist.
Bonus Tips & Tricks
Let’s round this out with a few helpful pointers to make your VPN life even smoother.
Auto-Connect = Less Thinking
Most VPNs have a feature where they auto-connect every time your device turns on or Wi-Fi changes. Activate it and forget about it—it just works in the background like a digital bodyguard.
Use It on All Your Devices
One account typically works on multiple devices—sometimes even unlimited ones. Install it on your:
- Phone
- Tablet
- Laptop
- Work PC
- Smart TV
- Your fridge (okay maybe not yet, but who knows?)
Kill Switch – It’s Not That Intense
Many VPNs include a “kill switch” feature. If your VPN disconnects for any reason, the kill switch cuts your internet to protect your data. Sounds intense, but it's just safety 101.
You can toggle this on in the settings for an extra layer of security.
Try Different Servers
If a site doesn’t load or your internet feels a little sluggish, try switching to another server. Not all servers are equal, and sometimes hopping over to Estonia just somehow makes things work.
Why Use a VPN Anyway?
Let’s do a rapid-fire benefits rundown:
- Privacy: Your data stays YOUR data. No snooping.
- Security: Encrypts your internet traffic to protect you on public Wi-Fi.
- Access Global Content: Streaming sites like Netflix, Hulu, BBC iPlayer? Say hello to global options.
- Bypass Censorship: Access the open internet even in restricted regions.
- Avoid Bandwidth Throttling: Some ISPs slow your connection when you stream or game—VPNs can stop that.
Even if you think you don’t need a VPN, the peace of mind is worth it. Especially with how simple it is to get started!
FAQs (Because You’re Probably Wondering)
Is This Really Under 2 Minutes?
Yes! Unless your Wi-Fi decides to take a break, the actual process is lightning fast, especially after reading this guide.
Are Free VPNs Okay?
Some free VPNs are decent (like ProtonVPN), but many limit speed, data, or servers. Just make sure the provider is trustworthy—remember, if you’re not paying for the product, you might be the product.
Will My Internet Be Slower?
Sometimes a teeny bit, but with good VPNs, the difference is barely noticeable. Pro tip: Choose a nearby server for max speed.
Is It Legal?
In most countries, VPNs are 100% legal. Just don’t use them for anything shady—we're here for privacy, not prison time.
Final Thoughts
There you go—proof that tech doesn’t have to be scary or complicated! You’ve just learned how to install a VPN in less time than it takes to boil water or scroll through a TikTok rabbit hole.
Now you're free to browse, stream, and explore with greater security and peace of mind.
So go on—fire up that VPN and surf like no one’s watching (because they aren’t now).